
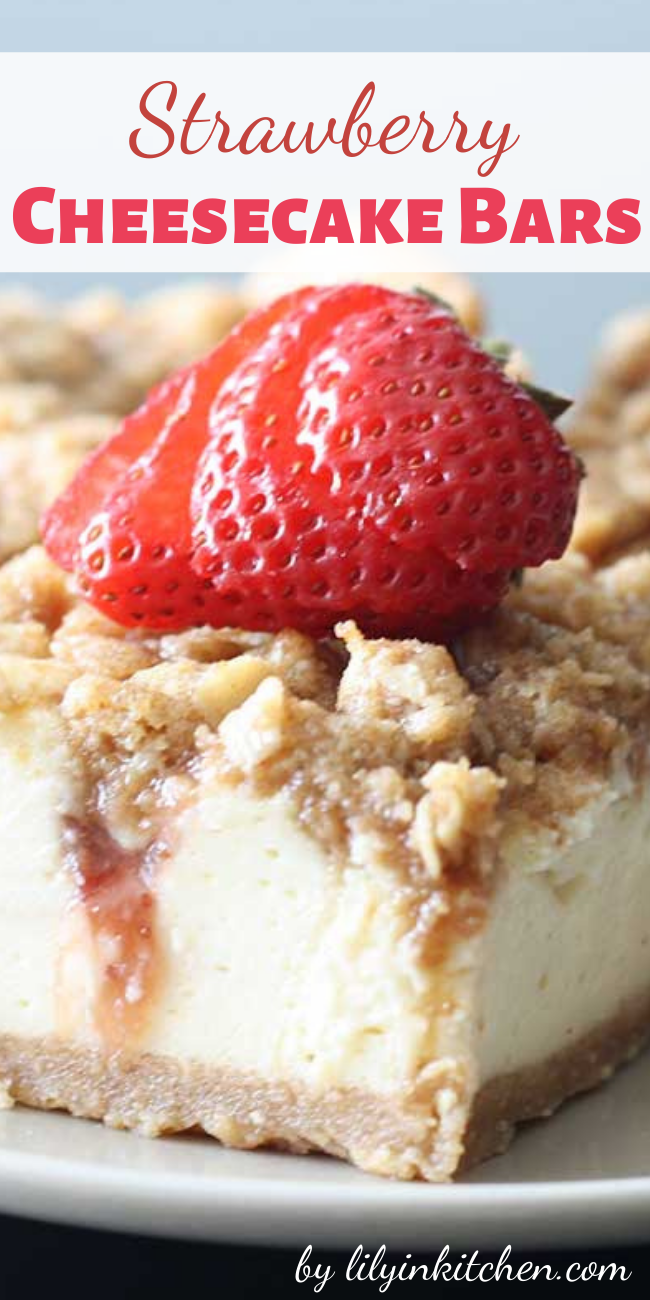
“Wow!” That’s what the reaction will be when you serve these delectable Strawberry Cheesecake Bars.
Strawberry Cheesecake Bars

“Wow!” That’s what the reaction will be when you serve these delectable Strawberry Cheesecake Bars.
Ingredients
For the crust:
- 1 cup all purpose flour
- 1/4 cup brown sugar
- 1/8 teaspoon salt
- 1/4 teaspoon cinnamon
- 8 tablespoons unsalted butter at room temperature
For the cheesecake Filling:
- 16 ounces cream cheese at room temperature
- 1/2 cup sugar
- 2 eggs at room temperature
- 1 teaspoon vanilla
- 1/4-1/2 cup strawberry preserves
For the streusel topping:
- 1/2 cup brown sugar
- 1/2 cup all purpose flour
- 1/4 teaspoon cinnamon
- 1/4 cup old fashioned oats
- 6 tablespoons unsalted butter at room temperature
Instructions
- Preheat the oven to 350 degrees. Line an 8×8 baking pan with foil and spray with baking spray.
- To make the crust, mix the flour, brown sugar, salt and cinnamon together in a medium bowl. Add the butter and mix until crumbly, but combined. Press the crust into the bottom of the pan in an even layer. Bake for 8-10 minutes until the crust is lightly browned.
- To make the cheesecake filling, beat the cream cheese and sugar in a large bowl with a hand mixer until smooth. Add the eggs one at a time and then the vanilla. Set the cheesecake filling aside.
- To make the streusel, mix the brown sugar, flour, cinnamon and oats until combined, but crumbly.
- Pour the cheesecake over the crust. Dollop the strawberry preserves over the cheesecake. Use a knife or skewer to swirl the preservers into the cheesecake*. Sprinkle the streusel topping over the cheesecake.
- Bake for 40-50 minutes or until a clean knife inserted in the middle of the pan comes out mostly clean. Transfer the pan to a wire rack to cool for 30 minutes. Transfer to the refrigerator to set the bars for at least four hours or preferably overnight. Cut the bars into squares and serve.
Recipe and Photo: Dishing Up Delights
For this cake you will need just 40 minutes. So delicious and Easy recipe that is family favorite in our Read more
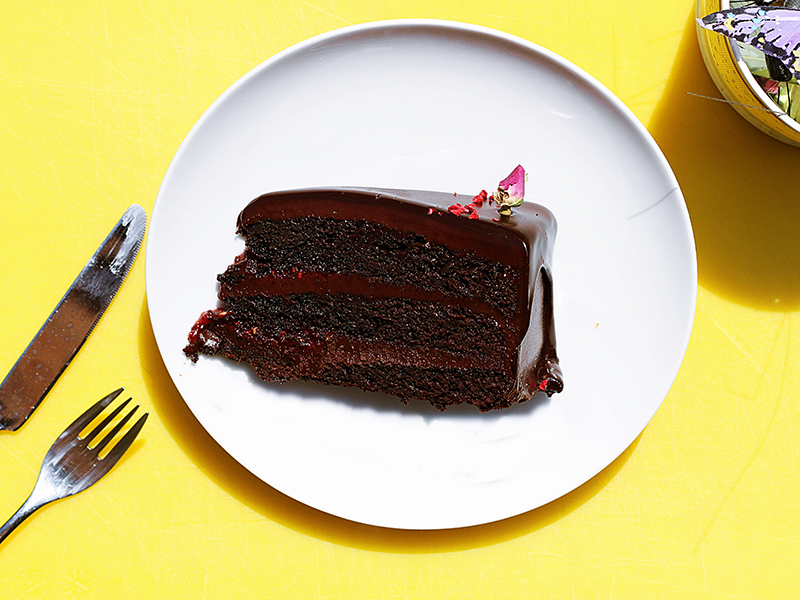
This Chocolate Cake is a combination of Baileys Irish Cream, Hot fudge, Kahlua, Vodka and sweetened condensed milk. Perfect dessert Read more
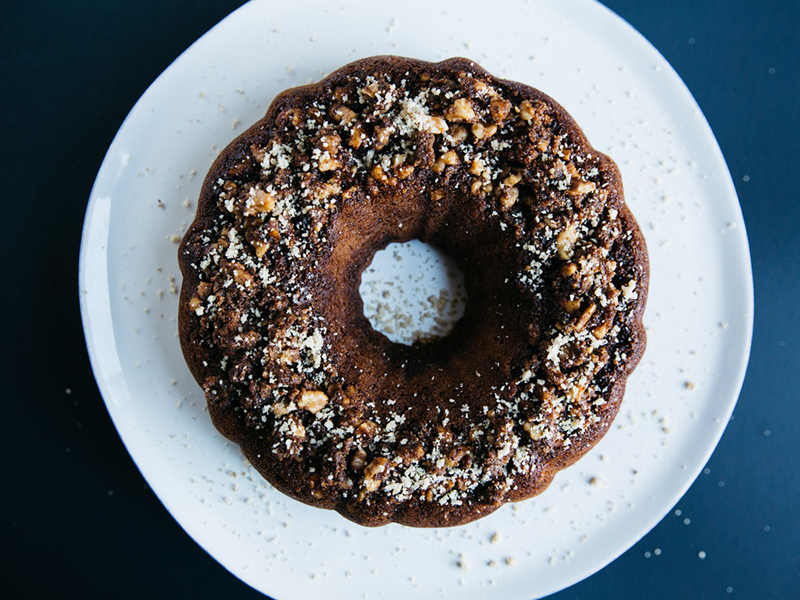
This Damn Delicious Chocolate Bundt Cake is packed with unadulterated chocolate flavor and goodness. I think this is the one Read more

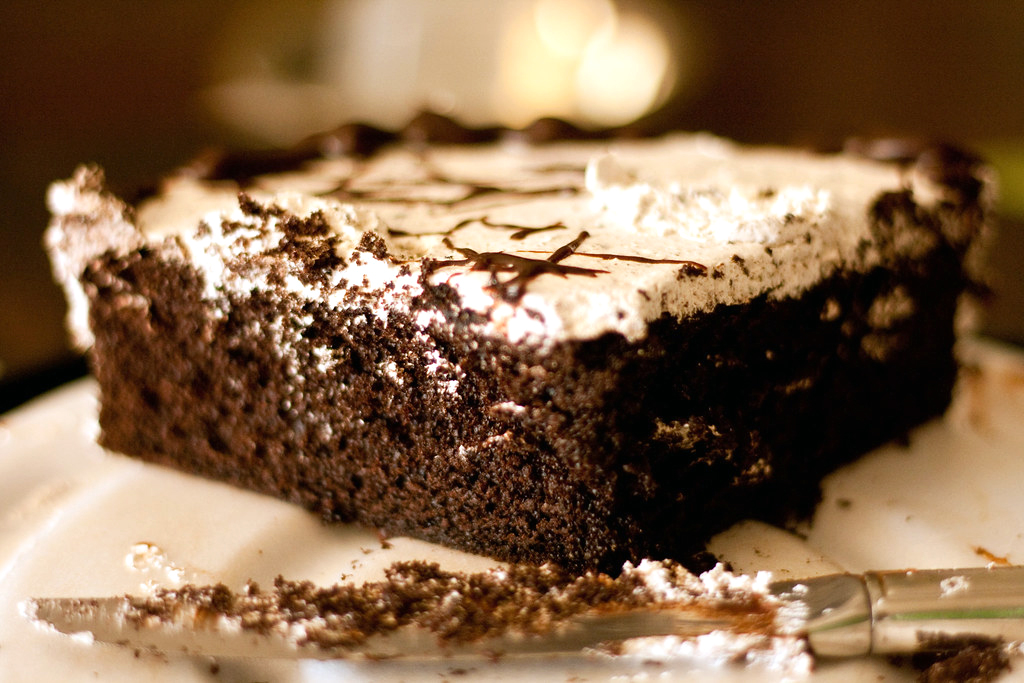
What you will need: For the brownies: 8 large eggs 4 cups dark chocolate chips 3 cups all purpose flour Read more